How to Make a Splint: Splints are used to treat different types of injuries, including broken bones, sprains, carpal tunnel syndrome, dislocations, strains, and even tendon ruptures. It can be used before a cast and can sometimes be used alone.
Placed properly, a rigid splint will help ease the pain by making sure that the wounded area doesn’t move.
What Is A Splint?
A splint is a supportive medical device used to keep an injured body part from moving and protect it from any further damage. It is sometimes called a brace or an immobilizer, such as a splint or cast, as it keeps the person in a still position without moving the injured limb.
A splint can stabilise a broken bone until the person is taken to the hospital or receives further treatment. When placed correctly, it can help with the pain and promote faster healing.
Since the bone ends of a fracture site tend to be very sharp, putting this in place will prevent bone from protruding through the skin. This also prevents skin and tissue damage and helps with bleeding control and management.
Two Types Of Splints
There are two different types of splints that are available to first aiders and first responders: rigid and flexible.
Rigid Splints
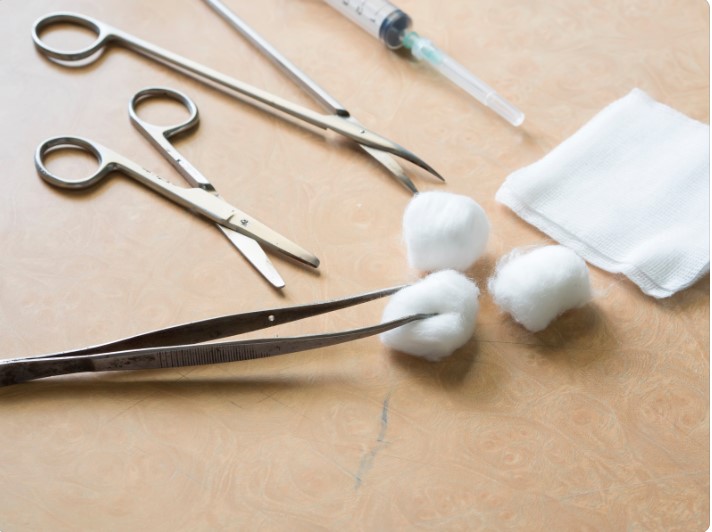
Any rigid objects from many different materials such as cardboard, hard plastic, metal, or wood. In this type of splint, there should be enough padding and always extend one joint above and below the fracture.
Flexible Splints
Any flexible objects like pillows, sling, beds sheet with several folds, and swathe-type splints, which works for fractures on the foot, ankle, and joints.
General Principles Of Splinting
Here are the first aid steps to follow on how to apply a splint.
Stop Any Bleeding
Before any attempt to place a splint, control the bleeding first. Stop the bleeding by applying enough pressure directly on the wound.
Apply Padding
After stopping the bleeding, cover the injury with a bandage, a square of gauze, or a piece of cloth.
Avoid any movement on the body part that needs to be splinted. Trying to realign a broken bone may accidentally bring more damage.
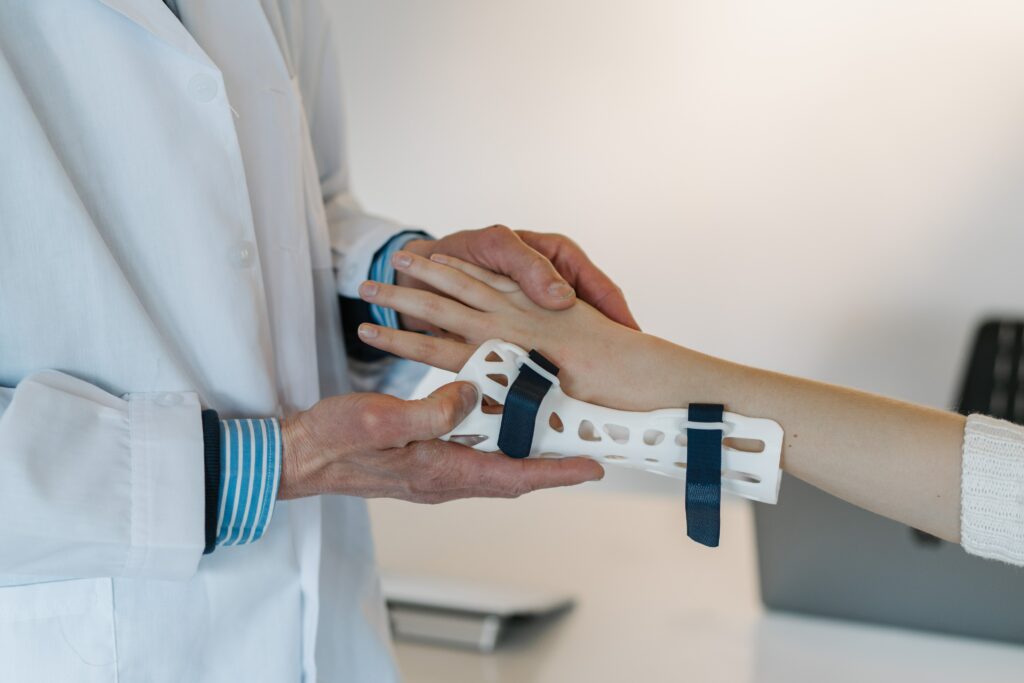
Place The Splint
Carefully place the splint and make sure it rests on the joint above the injury and the joint below it.
When placing ties to secure it in place, avoid placing them over the injury. Remember to fasten it enough to hold the body part still, but not too tight that it cuts off the person’s circulation.
Watch For Signs Of Shock
After splinting is completed, check the area around the injury every couple of minutes for signs of decreased blood circulation.
If the surrounding area appears pale, swollen, or with a tinge of blue color, loosen the ties holding the device. Remember that post-accident swelling can make the splint too tight.
While loosening the ties, check for a pulse, level of consciousness, and ask if there is pain in the fractured site. If initial measures to relieve pain and swelling do not work, you may need to remove the splint, as the person may be experiencing a shock.
In this case, lay the person down without affecting the injured body part. If possible, elevate the legs and position their head slightly below heart level.
Seek Medical Help
After a successful splint application and the injured body part is in a still position, call triple zero or the local emergency services. This way, the person will receive a check-up and further treatment from medical professionals.
Learn First Aid
Get useful, helpful, and relevant health and safety information in a first aid course. Learn the basics of lifesaving management, including bleeding control, CPR, wound care, and more.
For more information, go to our course page or reach out to our team at First Aid Courses Darwin.